Vivid Trace 1.2 Getting Started
This document describes how to install and start using Vivid Trace. To follow along, you need to be able to install the Vivid Trace add-on into a correctly-functioning JIRA system (see the Specifications for requirements), perform a re-index, ensure that issue linking and/or sub-tasks are enabled, and you need to work with issues in a discardable project. Required time: approximately 10 minutes.
Install Vivid Trace into JIRA.
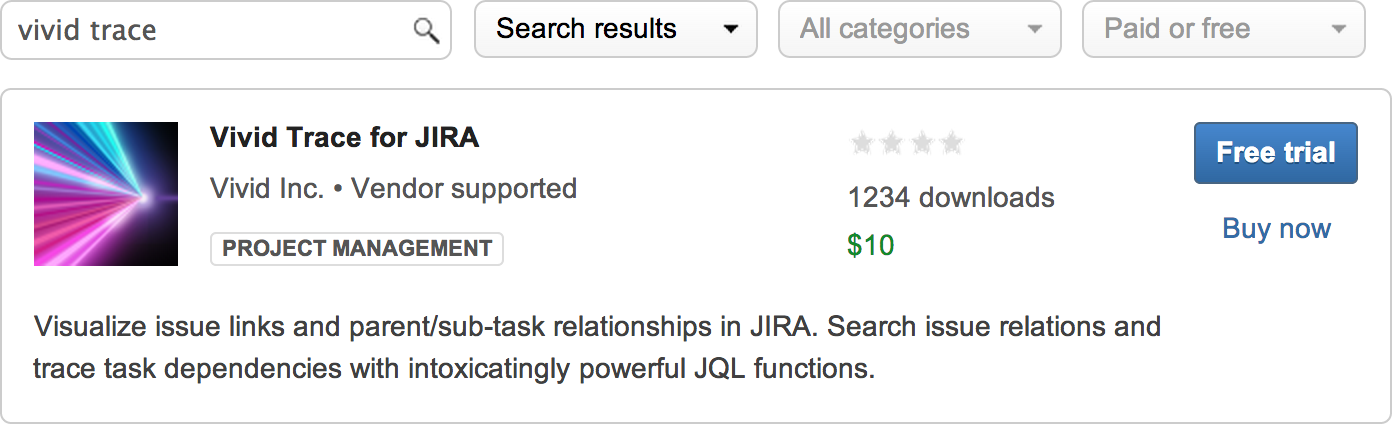
From the "Find new add-ons" administration page in JIRA (in older versions of JIRA, the "Install Plugins" tab in the "Plugins" section), search the Atlassian Marketplace for Vivid Trace and install it. If you can't do this, ask your administrator to do it for you. You can get a 30 day free trial of Vivid Trace, and even of JIRA itself if necessary. After Vivid Trace downloads into your JIRA system, it analyzes key settings in your JIRA configuration. If Vivid Trace indicates any problems, you will need to resolve them before continuing. Next, perform a re-index of your JIRA system. Detailed installation instructions are in the Add-on Administration documentation.
View the Issue Relation Graph of an issue.

If you don't already have a project and some issues to use, create them now. Alternatively, if you already have a project filled with issues, this might be the first time you are visualizing your task dependencies! Next, view an issue in the project, and notice that there is a "Trace" tab in the Activity sub-view of the issue. Select this tab to show the issue relation graph for this issue. If there are other issues already related to the current issue by either issue links or as parent/sub-tasks, you'll be able to see them here, according to permissions. If there are no related issues, then the graph will show only the current issue.
Link issues together.
If you don't already have other issues to link to, create some now. Next, link the current issue to some other issues using JIRA's issue linking feature.
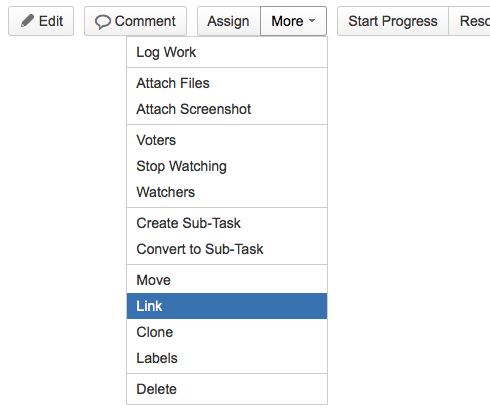
Summon the Link dialog by clicking on or tapping the "More" button near the top of the issue page, and then selecting "Link" from the drop-down menu.
You can use Keyboard Shortcuts to accelerate the issue linking process: Press . (full-stop/period) and then type in link.
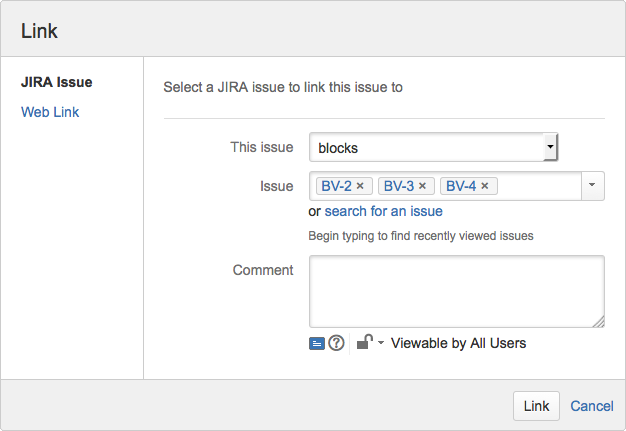
Link to one or several issues. Note that in this example the issues will be linked with the "Blocks" issue link type.
Create JIRA Issue links (not Web Links) to other issues.

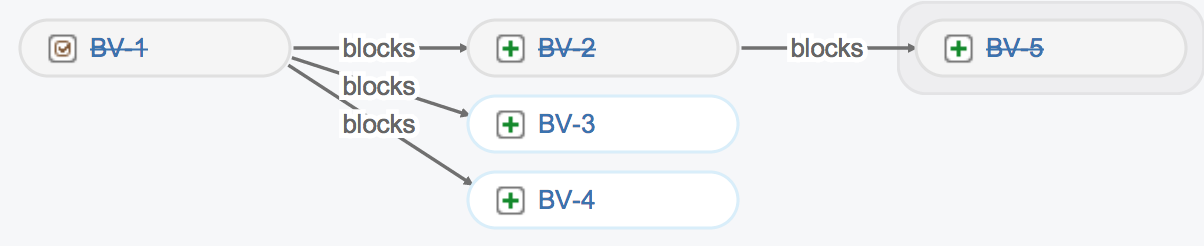
After creating the issue links, notice that the issues you just linked to now appear in the issue relation graph. The issue relation graph shows the larger context of the work that the current issue is a part of.
This graph indicates that issue BV-1 blocks issues BV-2, BV-3, and BV-4. We can read the relationship between issues BV-1 and BV-2 as "BV-1 blocks BV-2," or reading backwards, "BV-2 is blocked by BV-1." Each relationship has a direction. For issue links, you control the direction of the issue relationship in the Link dialog, above.
Navigate issues using the Issue Relation Graph.
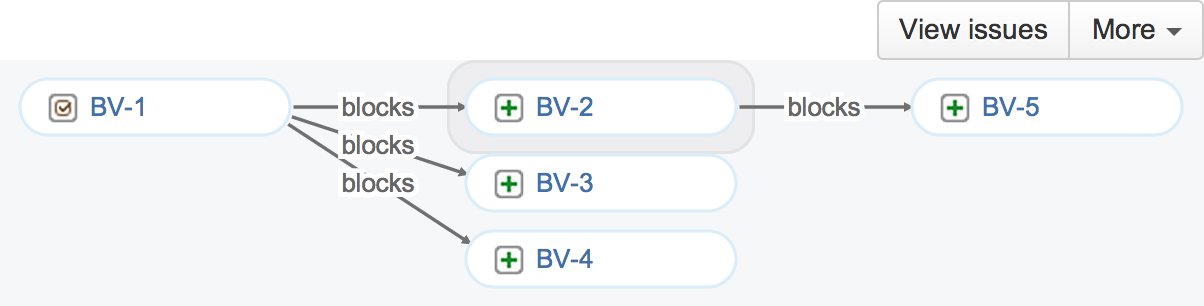
Click on any issue in the graph to instantly navigate to it. This feature enables you to quickly move to related issues across the larger unit of work, simplifying inspection and confirmation processes. The current issue is given a halo so that you always know where you are. To see all the issues in the graph in list form, click on or tap the "View issues" button.
Confirm progress and remaining work.
Try resolving several of the issues in your graph. You can do this by using the graph to quickly navigate to and resolve each of the desired issues. Notice how each issue in the graph changes its appearance to be resolved as you resolve one after the next, and from that how quickly you can judge completion of work, and how much easier this will make communicating progress to others.
To trace implementation issues back to originating requirements, start from those issues and (possibly reading left-wards) follow the relationships up to the requirements. If a given implementation issue doesn't trace back to a requirement, or the issue statuses along the trace path don't seem coherent, the graphs will quickly make such facts obvious.
To trace requirements satisfaction, start from the issues representing the requirements, and (possibly reading right-wards) trace towards their implementations and tests. If the implementation of a requirement is unfinished or untested, Vivid Trace's graphs will quickly make those facts obvious, too.
What's Next?
See the issue relation graphs for your existing projects and issues. You can also try adding some sub-tasks to see how they are visualized.
Check the Feature Tour to see how you can leverage Vivid Trace. JIRA Administrators might be interested in the Add-on Administration documentation.