Start a free trial of Vivid Trace
Install Vivid Trace into Jira
Search for "Vivid Trace" in the Atlassian Marketplace.
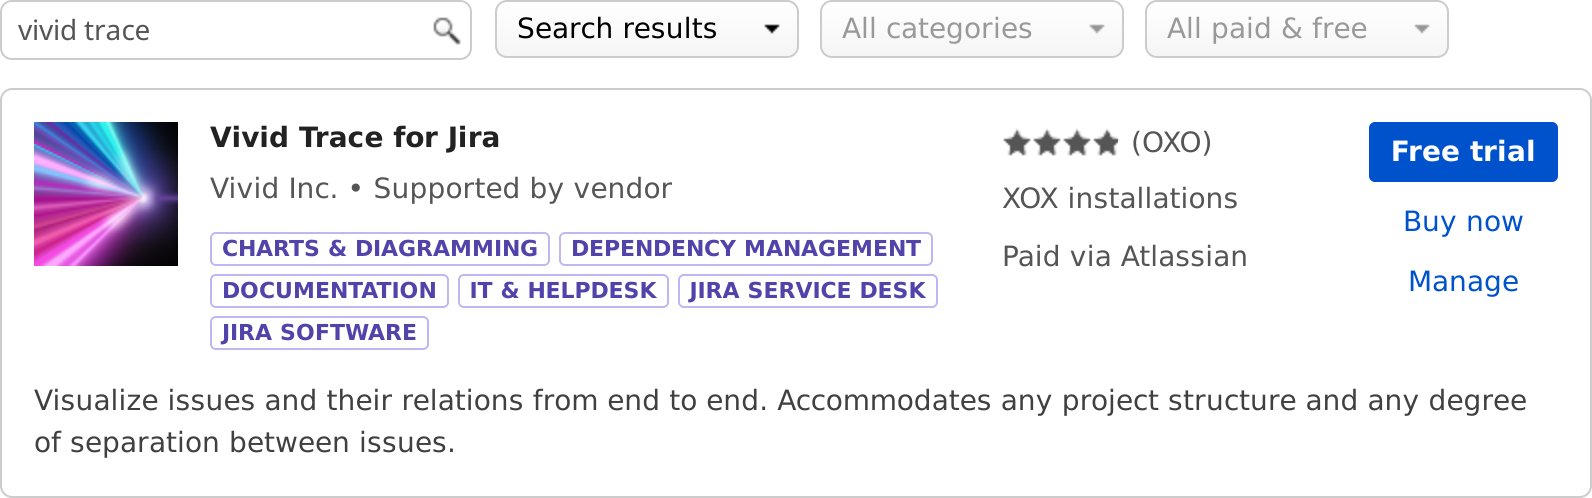
Install Vivid Trace by selecting Free trial and following the directions.
Click or tap Generate License to generate a new trial license ...
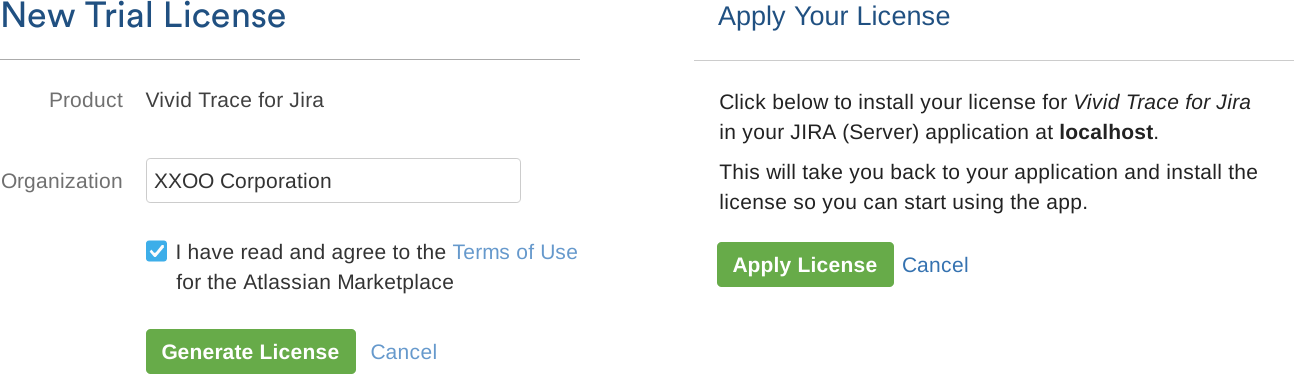
... and then Apply License to apply it to your Jira. Your free trial period has begun!
Perform a background (online) re-index
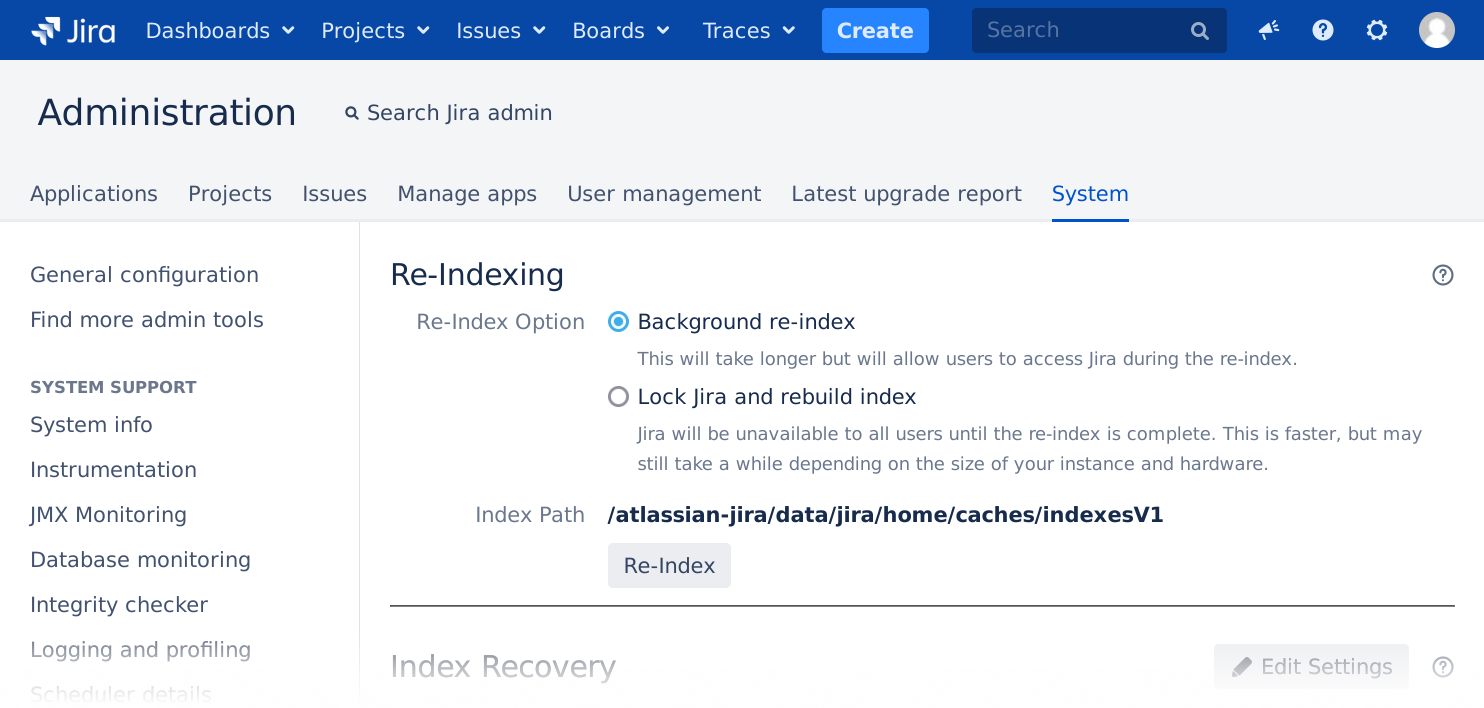
Vivid Trace is ready for use after the re-index operation finishes. Choose background re-index to perform the re-index with no disruption to Jira availability.
View dependency graphs
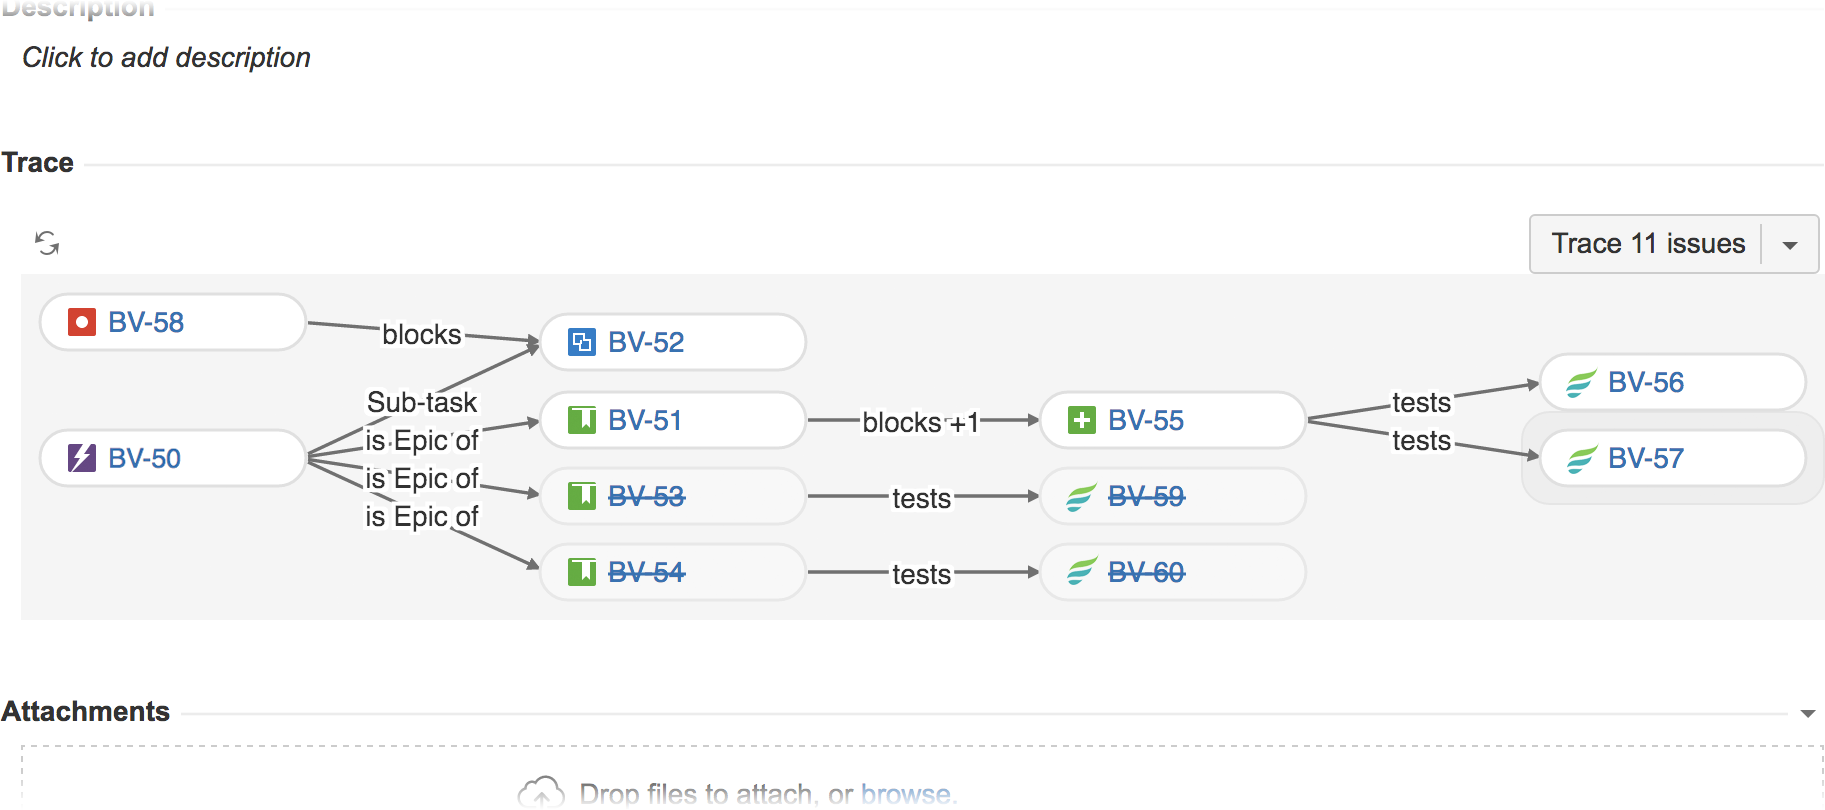
View the issue details pages for a few issues that you know have links.
What next?
Quickly learn about what else you can do with Vivid Trace by scanning over the Feature tour, doing the Trace Studio Quickstart, and browsing the list of topics in the Solution guide.
Tell your teammates. They will also see traces on their Jira issue pages and might be wondering about the new features. Share the Getting started document with them.
Familiarize yourself with Vivid Trace's capabilities and the product information resources by looking over the Documentation set index.
Give your teams a solid start with the prepared Deployment Readiness Checklist.
Make Jira speak your language with additional language packs.
Take advantage of Vivid's concierge service to help you quickly become productive with Vivid Trace.
Have questions or something to say? Contact a Vivid Partner or Vivid Support directly.
Full installation instructions are detailed in Add-on administration.